It's like an umbrella for the house except made out of rigid polyiso insulation, plywood, 2x4's, tar paper and shingles.
It's been a long time since I've updated this, but then it's taken a long time to do the roof.
This is the process:

First comes the vapor barrier to keep the inside humidity from condensing inside the roof.
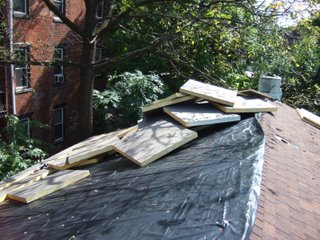
Then come the insulation panels...

...carefully arranged in two layers with the seams staggered.
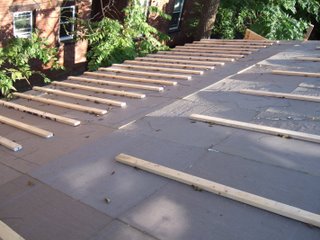
This is the "strapping". 2x4's screwed right through all of the insulation to the original rafters below. We used 10 inch screws to get through it all.
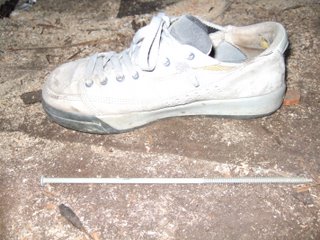
This is what a 10 inch screw looks like (next to my shoe for some sort of reference point).
This is what a 10 inch screw looks like as it's being driven into the joists. Often we would miss the joist and it would be hard afterwards to figure out which of the screws had missed so we had to have somebody down below watching. The watcher would yell up if it was good or bad. We did this 500 times over about 5 days.
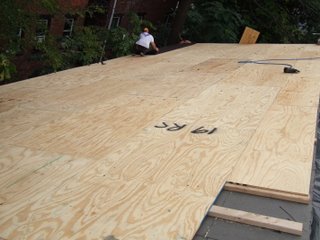
Then comes the new plywood sheathing. The space between the insulation and the plywood is for ventilation. That way if any moisture gets in to the roof the air and sun should dry it out before any mold develops.
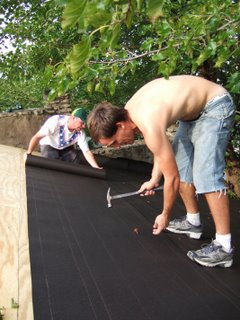
Chris unrolls the tarpaper and Jonathan nails it in. Then I follow and nail a bunch more.

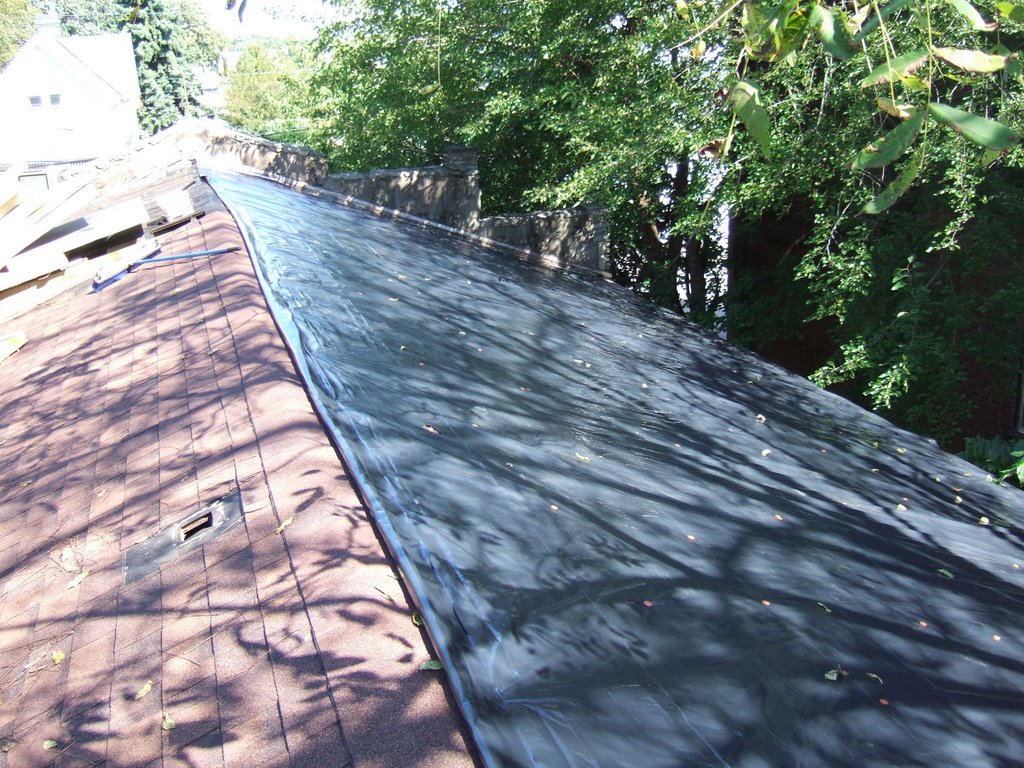
This is what it looks like when the whole thing is done.
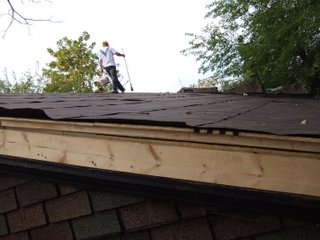
All that's left to do is to put on the shingles.
So there you have it, that's how you put a brand new insulated roof on top of an old uninsulated roof. We did it that way so that we can keep the original rafters exposed inside. Terrific!!
This is the process:
First comes the vapor barrier to keep the inside humidity from condensing inside the roof.
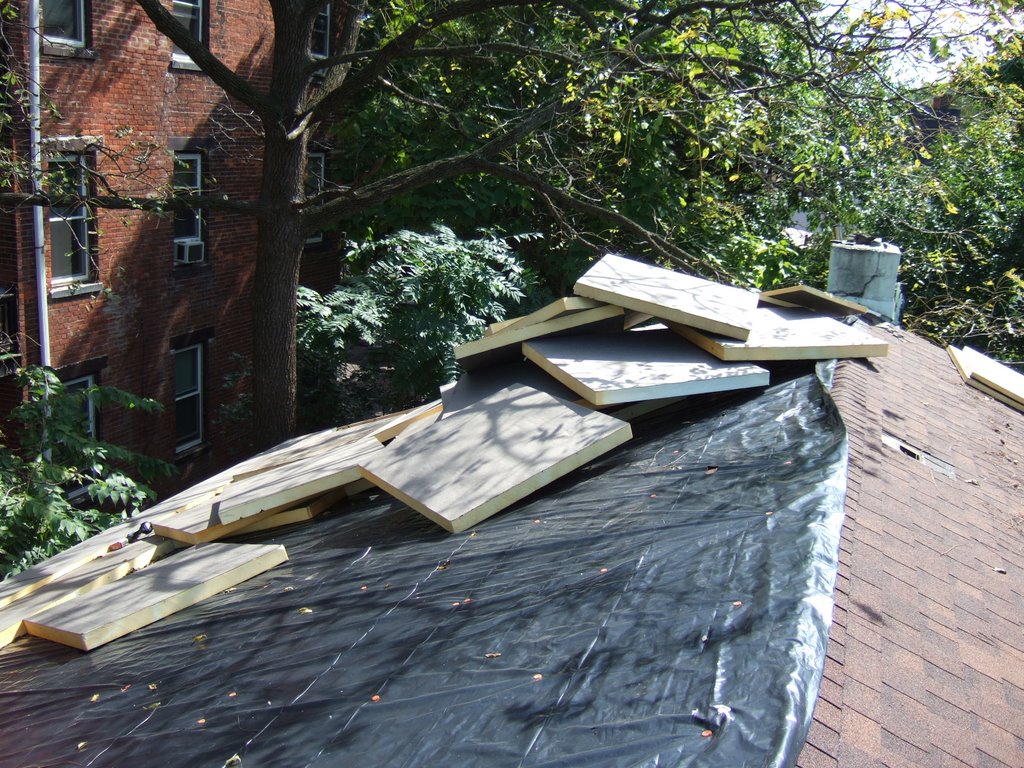
Then come the insulation panels...

...carefully arranged in two layers with the seams staggered.

This is the "strapping". 2x4's screwed right through all of the insulation to the original rafters below. We used 10 inch screws to get through it all.

This is what a 10 inch screw looks like (next to my shoe for some sort of reference point).
This is what a 10 inch screw looks like as it's being driven into the joists. Often we would miss the joist and it would be hard afterwards to figure out which of the screws had missed so we had to have somebody down below watching. The watcher would yell up if it was good or bad. We did this 500 times over about 5 days.

Then comes the new plywood sheathing. The space between the insulation and the plywood is for ventilation. That way if any moisture gets in to the roof the air and sun should dry it out before any mold develops.
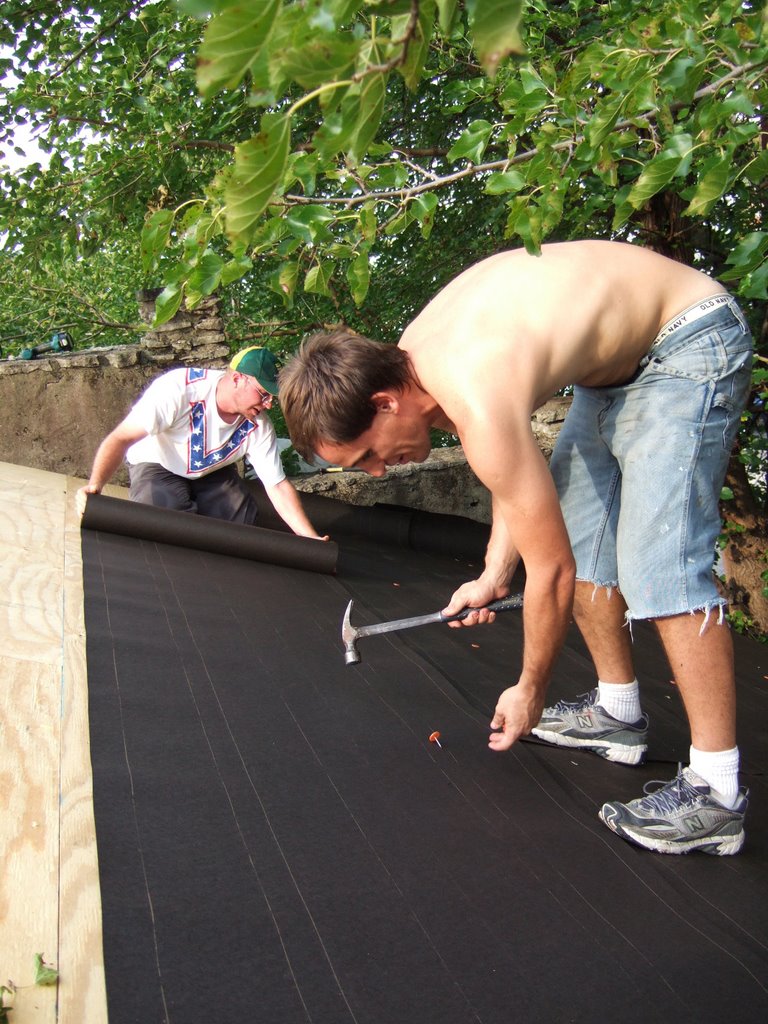
Chris unrolls the tarpaper and Jonathan nails it in. Then I follow and nail a bunch more.
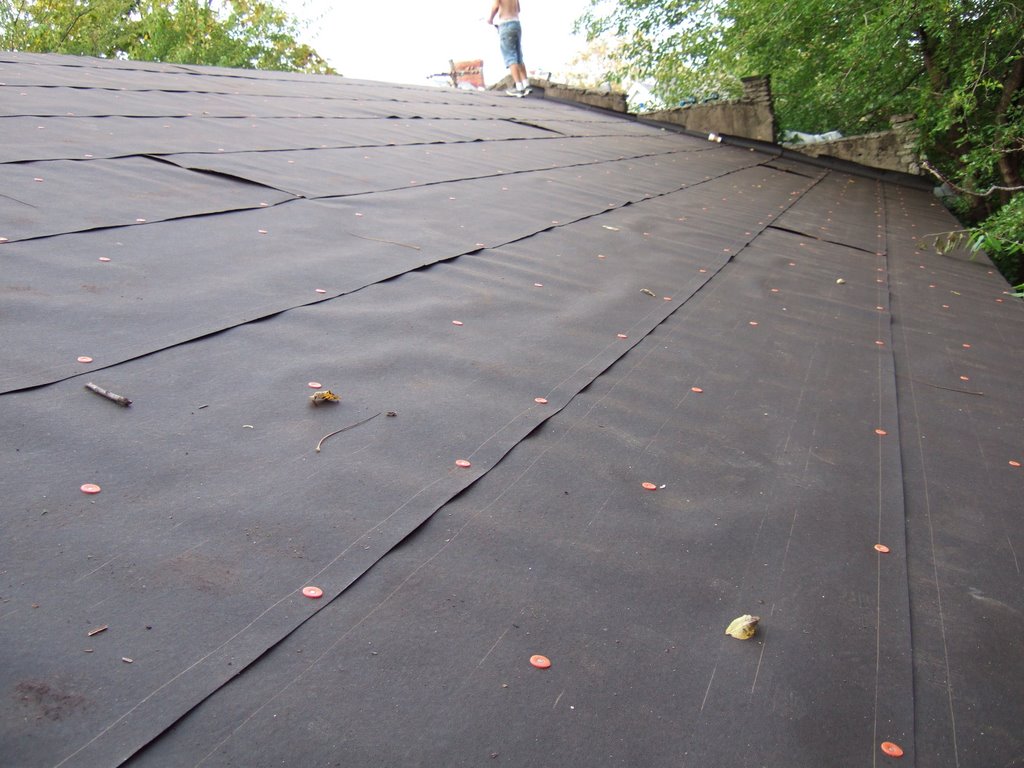
This is what it looks like when the whole thing is done.

All that's left to do is to put on the shingles.
So there you have it, that's how you put a brand new insulated roof on top of an old uninsulated roof. We did it that way so that we can keep the original rafters exposed inside. Terrific!!
posted by 1923 Mills Avenue at 7:47 PM
4 comments
![]()